01Meet the UNO
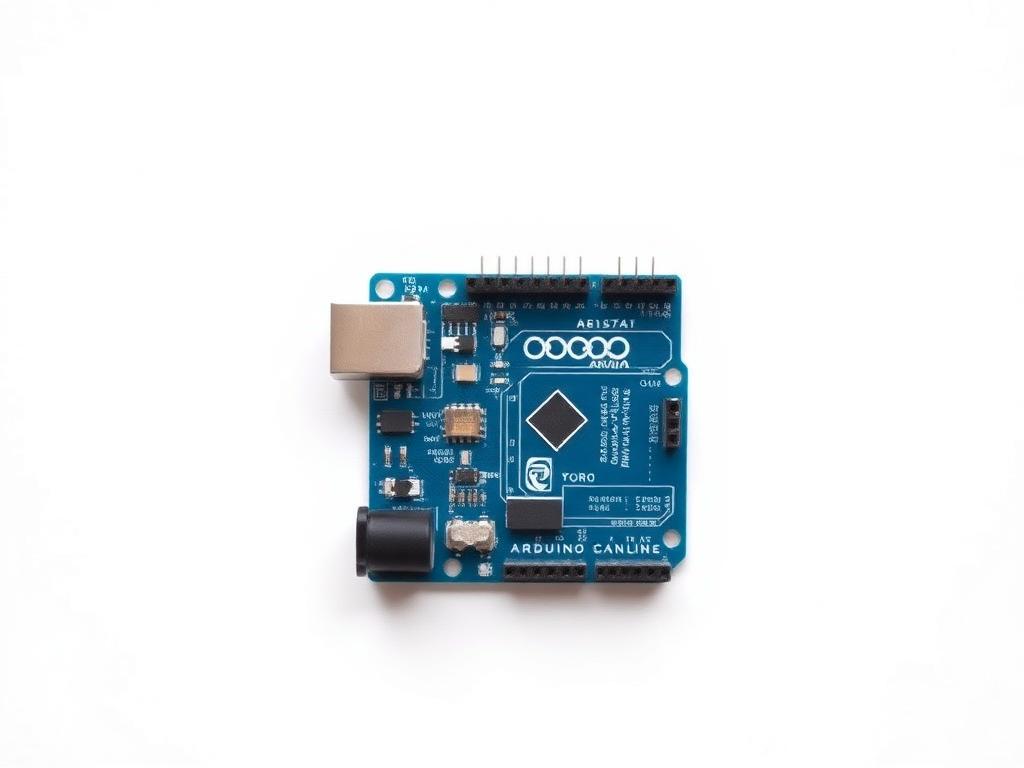
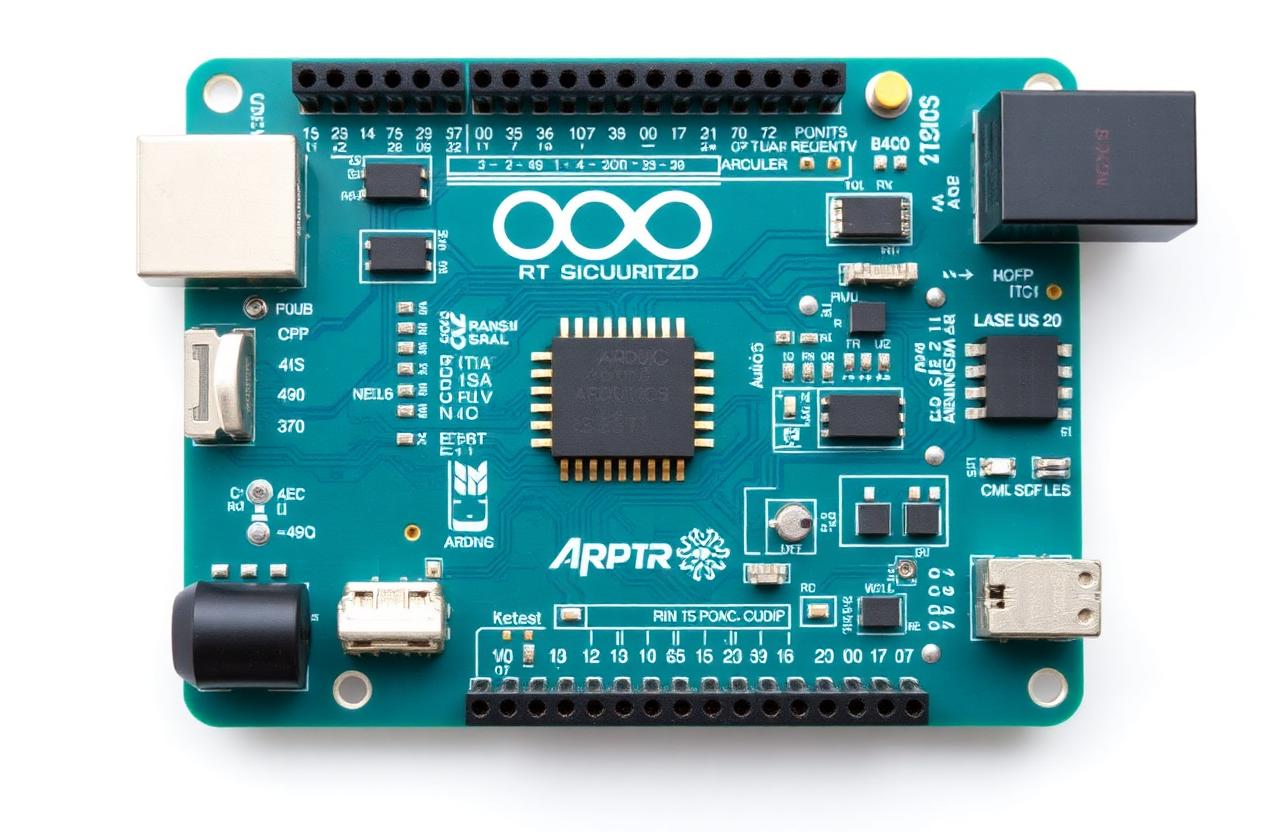
Arduino UNO R3 is built around the ATmega328P microcontroller running at 16 MHz with 32 KB flash and 2 KB SRAM. It exposes 14 digital pins (6 PWM) and 6 analog inputs — enough for most learning projects.
02Installing the IDE
- Download Arduino IDE 2.x from arduino.cc.
- Plug in the UNO via USB-B cable.
- Select Tools → Board → Arduino UNO.
- Select Tools → Port → the matching COM/tty port.
03Your first sketch — Blink
Open File → Examples → 01.Basics → Blink. Click Upload. The on-board LED on pin 13 toggles every second. Congratulations, you ran your first program on bare metal.
04Reading a sensor
Wire an LM35 temperature sensor: VCC → 5V, GND → GND, OUT → A0. Read it with analogRead(A0); convert with: tempC = reading * (5.0 / 1023.0) * 100. Print to Serial Monitor at 9600 baud.
05Project structure
- setup() runs once at boot.
- loop() runs forever.
- Use functions to split logic.
- Use delay() sparingly — prefer millis() for responsive code.
06Next steps
- Add a button with INPUT_PULLUP.
- Drive a servo with the Servo library.
- Talk I2C to an OLED screen.
- Build a temperature-logging weather station.